

Services
– Developing database driven Internet applications.
– Add real-time processing and security to your e-commerce solutions.
– Design graphic and multimedia interfaces.
– Build user authentication systems.
– Integrate Flash and other applications using PHP Programming, mySQL, MS-SQL, ASP & Ms-Access.
– Other automated web based solutions.


Database Driven Web Sites
As the world wide web has matured since it’s birth, it has become increasingly necessary for a sucessful web site to contain up the second information in order to satisfy users and increase returning traffic. In order to fulfil this need for real time control over their content, many of our customers have expressed the desire for administrative control over part or all aspects of their web site content – this we achieve through custom designed Content Management Systems (CMS). Typically we store information in a MySQL database, and connect this up to a purpose built, password protected administration console via PHP. Using this admin tool, our clients can add, edit or remove all or part of their web site content (through an easy to use “wizard” style procedure) from any internet connected computer in the world, all in real time.
E-Commerce Solutions - online
One of the major achievements of the age of the internet is that it has enabled businesses to sell products and services worldwide, and conversely, it has enabled consumers to shop for the right deal on a global basis.
Whether you wish to expand your bricks and mortar operation, or whether you are planning an entirely web based business, plx Web Studio can help to guide you through the process of selling your product or service online.
We can advise you of your options for processing credit cards and authorising payment online, and we can design and develop a database driven web based shop front that you and your employees can update yourselves over the browser. Most importantly, we can custom build an intelligent shopping cart system that recognises visitors and stores the contents of their cart should they wish to return to the web site and order at a later stage.


Search Engine Optimisation
Through the use of dynamically generated content relevant keywords, combined with search engine friendly code and web site architecture, we aim to get your website into the top ten results on these search engines for carefully chosen keywords and phrases.
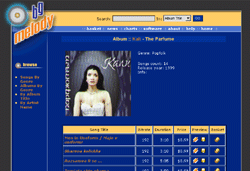
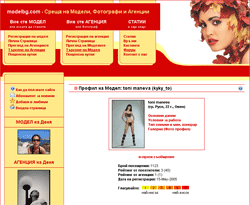
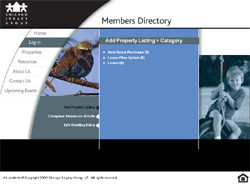
Portfolio
Please take a look at our portfolio to preview some of the projects we have developed!


Hosting
Here are the details for all the hosting plans we provide. You can order your web hosting, using our contact form or by calling us at +359 899 18 54 17. The payment can be made using paypal, e-gold, check or bank wire.